
After a session is delivered, logging it is what turns a plan on paper into an accurate record of the support a pupil actually received — and it's how Phoenix Ember tracks whether a programme is running at the cadence it was meant to.
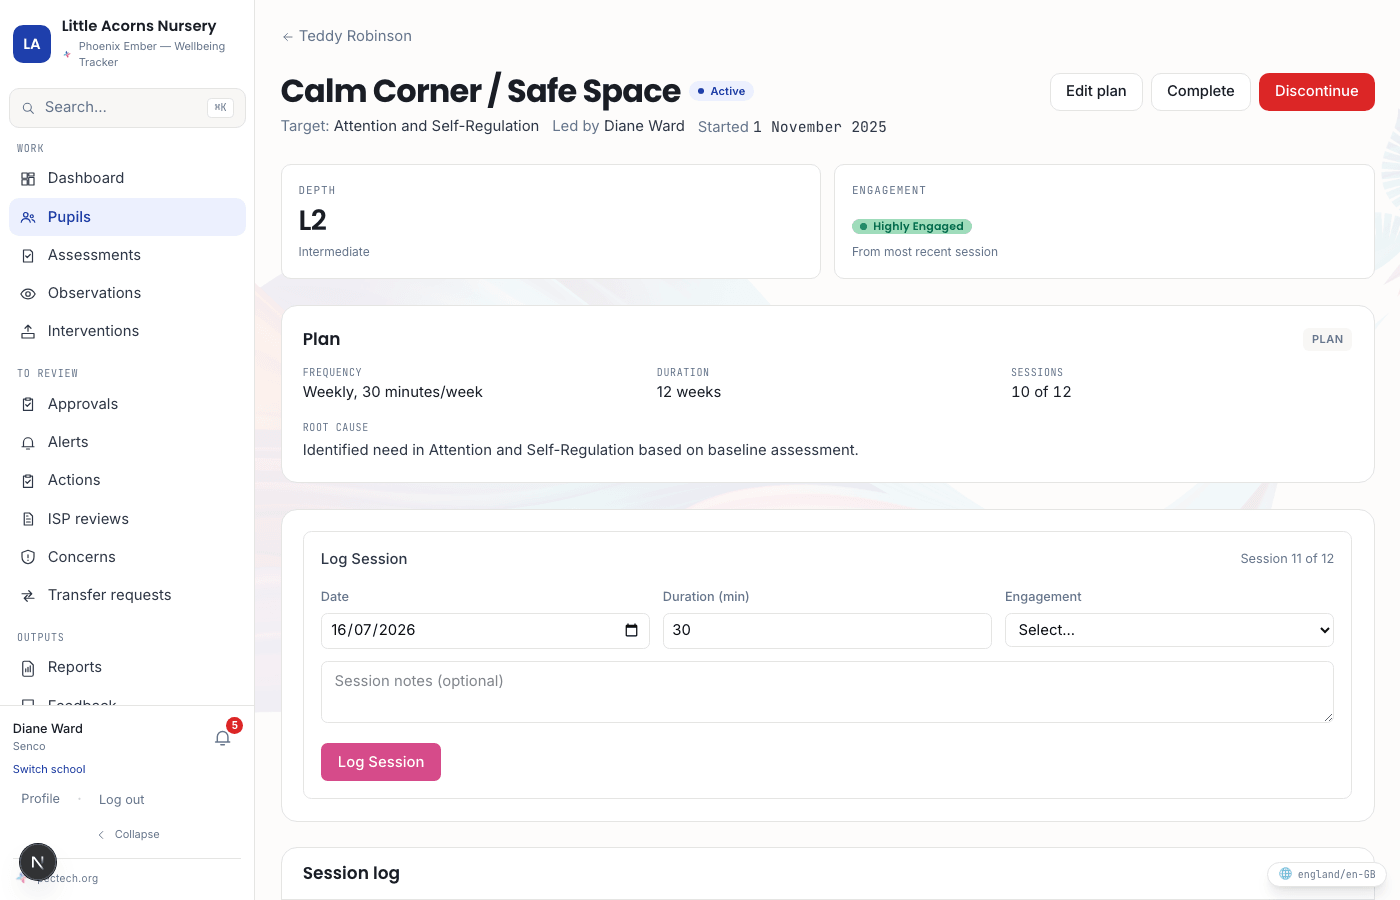
- 01
Find the intervention on the pupil’s profile
Open the pupil's profile and go to their Interventions tab to see everything currently assigned to them, then open the one you delivered a session for.
- 02
Log the session
The date defaults to today — change it if the session happened on a different day. Add the duration in minutes, and, if useful, an engagement level: Highly Engaged, Engaged, Partially Engaged, or Refused/Disengaged. Both engagement and notes are optional — record as much or as little as is useful to you.
- 03
The first session moves a plan from planned to active
An intervention that is still "planned" moves automatically to "active" the moment you log its first session — no separate status change to remember.
- 04
Why this matters later
Every logged session builds the history that feeds the before/after comparison on the pupil's next report — Phoenix Ember computes the delta against the assessment cycle before the intervention started, so 'is this actually working?' has a real answer instead of a guess.